
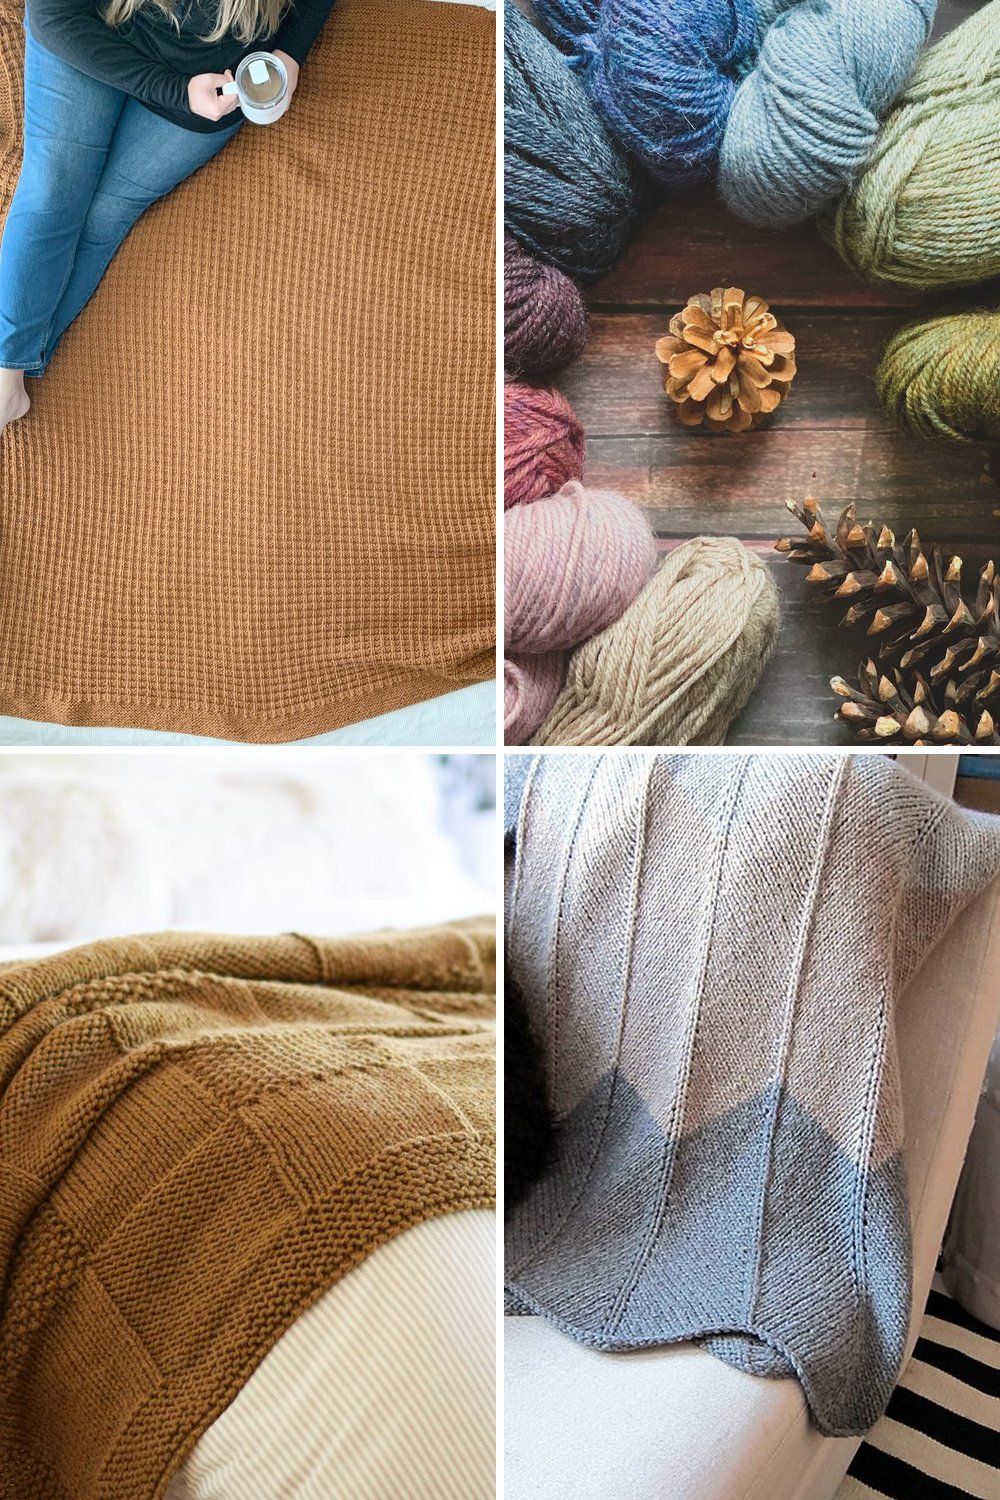
If you have ever watched someone knit and thought “I could never do that,” this guide is for you. Knitting really comes down to three moves: getting stitches onto the needle (casting on), the knit stitch, and the purl stitch. Almost every pattern you will ever see is built from those three.
Below we go through each one slowly, in plain words, with the yarn and needles that make learning easiest. By the end you will have a small practice square and the confidence to start a simple scarf or dishcloth.
What You’ll Need
- Medium weight (#4) worsted yarn in a light, smooth color
- US size 8 (5 mm) straight knitting needles, bamboo or wood
- Small sharp scissors
- Blunt-tip tapestry needle for weaving in ends
- Locking stitch markers (optional but handy)
- Measuring tape
A light color matters more than you might think. On dark or fuzzy yarn it is hard to see each loop, and seeing your stitches is the whole game at the start.
How to Hold Your Yarn and Needles
There is no single right way to hold knitting. The two main styles are:
| Style | Yarn held in | Common in | Good for |
|---|---|---|---|
| English (throwing) | Right hand | US and UK | Most beginner videos and books |
| Continental (picking) | Left hand | Europe, many crocheters | Speedy knit stitches, crocheters switching over |
This guide uses English style because most US tutorials teach it, but every step works the same way in either style. Only the hand that wraps the yarn changes.
Hold the needle with stitches in your left hand and the empty needle in your right. Let the yarn coming from the ball run over your right index finger so you can wrap it without letting go of the needle.
How to Cast On (Long-Tail Method)
The long-tail cast on gives a neat, stretchy edge and is the one most patterns assume when they just say “cast on.”
Step 1: Pull out a tail of yarn. A simple rule: about 1 inch of tail for every stitch you plan to cast on, plus 6 inches extra. For 20 stitches, leave about 26 inches.
Step 2: Make a slip knot at that point and slide it onto one needle. Pull it snug but not tight. This counts as your first stitch.
Step 3: Hold the needle in your right hand. With your left hand, put your thumb and index finger between the two strands, the tail over your thumb and the ball yarn over your finger. Hold both strands in your palm with your other fingers. Your hand should look a bit like a slingshot.
Step 4: Bring the needle tip up through the loop on your thumb from below.
Step 5: Swing the needle over and catch the strand on your index finger from the top.
Step 6: Bring that strand back down through the thumb loop.
Step 7: Drop the thumb loop and gently pull the tail to snug the new stitch on the needle. That is one stitch.
Step 8: Repeat Steps 3 to 7 until you have the number of stitches you need. For practice, cast on 20.
If the long-tail feels like too much at once, try the backward loop cast on: just twist a loop around your thumb and slip it onto the needle, over and over. It is easier but looser, so move to long-tail once you are comfortable.
How to Do the Knit Stitch
Swap hands so the needle full of stitches is in your left hand and the empty needle is in your right.
Step 1: Push the right needle tip into the front of the first stitch on the left needle, going from left to right. The right needle will sit behind the left needle, making an X.
Step 2: With your right hand, wrap the working yarn (the strand coming from the ball) around the back needle counterclockwise, so it ends up between the two needle tips.
Step 3: Slide the right needle down and toward you, pulling the new loop through the old stitch to the front.
Step 4: Slide the old stitch off the left needle. You now have one new stitch on the right needle.
Step 5: Repeat across the row. When the left needle is empty, swap needles and start the next row.
An easy rhyme helps a lot of new knitters: “In through the front door, around the back, out through the window, off jumps Jack.”
Knitting every row creates garter stitch: bumpy ridges on both sides that lie flat and never curl. It is perfect for a first scarf or dishcloth.
How to Do the Purl Stitch
The purl stitch is simply the knit stitch done backward. If you flip a knit stitch over, you see a purl bump.
Step 1: Bring the working yarn to the front of your work, between the needles.
Step 2: Push the right needle into the front of the first stitch from right to left, so the right needle sits in front of the left needle.
Step 3: Wrap the yarn around the right needle counterclockwise, from front to back and down.
Step 4: Push the right needle down and back through the stitch, taking the new loop with it.
Step 5: Slide the old stitch off the left needle.
Step 6: Repeat across the row, keeping the yarn in front the whole time.
Putting It Together: Stockinette Stitch
Once you can knit and purl, try stockinette stitch:
- Row 1 (right side): knit every stitch.
- Row 2 (wrong side): purl every stitch.
- Repeat these two rows.
The front shows smooth little V’s, the classic sweater look. The back shows bumps. Stockinette curls at the edges, which is normal, so many patterns add a garter or ribbed border.
How to Bind Off
When your square is about 4 inches tall, finish it:
Step 1: Knit 2 stitches.
Step 2: With the left needle tip, lift the first stitch on the right needle over the second one and off the needle.
Step 3: Knit 1 more stitch and lift the previous one over it again. Keep going until one stitch is left.
Step 4: Cut the yarn, leaving a 6-inch tail, and pull it through the last loop. Weave in both tails with your tapestry needle.
For more ways to finish your work, see our guide to binding off in knitting.
Common Mistakes (and How to Fix Them)
- Extra stitches appearing. Usually the yarn went over the needle and made a fake “two-leg” stitch at the start of the row. Keep the yarn hanging down from the first stitch, not pulled over the top. Count stitches at the end of every row while learning.
- Holes in the fabric. You likely moved the yarn to the front (or back) by mistake between stitches, which adds a loop. Before each knit stitch, check the yarn is behind; before each purl, check it is in front.
- Stitches too tight to move. You are pulling the yarn after each stitch. Make the new loop on the thick part of the needle, not the tip, and relax your grip.
- Dropped stitch. Do not panic. Slip a locking marker into the loose loop so it cannot run further, then use a crochet hook to pull it back up row by row.
- Twisted stitches. If your stitches sit with the back leg in front, you are wrapping the yarn clockwise. Wrap counterclockwise for both knit and purl.
Tips
- Practice with 20 stitches, not 100. Short rows give you more practice at the tricky start and end of the row.
- Count your stitches out loud at the end of each row for your first few sessions.
- Wood or bamboo needles grip the yarn a little, so stitches do not slide off while you learn.
- Keep your first project flat: a garter-stitch dishcloth or scarf. Save hats and socks for later.
- If you get lost reading a pattern, check our knitting abbreviations chart for beginners.
- Short daily sessions of 15 minutes build muscle memory faster than one long weekend session.
FAQ
Is knitting hard to learn?
Knitting feels awkward for the first hour or two because your hands are doing something new. Most people can knit a full row smoothly after one or two practice sessions. Once the knit stitch clicks, purling usually takes another evening. It is a skill built by repetition, not talent.
What size needles should a beginner use?
US size 8 (5 mm) needles paired with worsted (#4) yarn are the classic choice. They are big enough to see each stitch clearly but not so big that the fabric gets floppy. Check the yarn label too, since most labels list a suggested needle size.
Should I learn knit or purl first?
Learn the knit stitch first. With knit alone you can make garter-stitch scarves, dishcloths and blankets. Once knitting feels easy, add the purl stitch so you can work stockinette and ribbing. Purl is just the knit stitch done from the other side.
Grab some yarn, cast on 20 stitches tonight, and you will be knitting before you know it.